 EN
EN

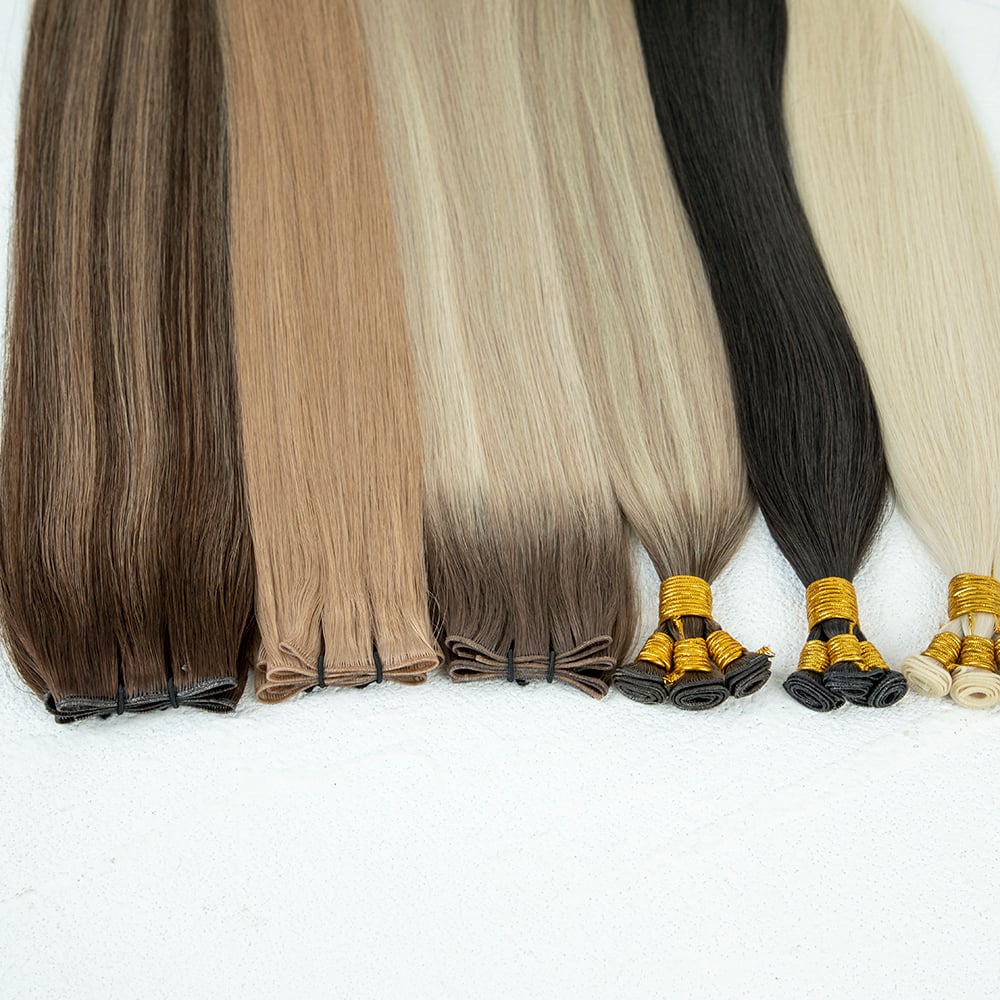
Installing weft hair extensions is a transformative process that adds volume, length, and texture to your natural hair. Whether you're a stylist or someone looking to enhance your appearance, understanding the proper installation technique is essential for achieving beautiful, long-lasting results. Weft hair extensions have become increasingly popular in the beauty industry because they provide a secure, versatile, and relatively low-maintenance solution for hair transformation. This guide walks you through every step of the installation process, from preparation through final styling, ensuring you achieve professional-quality results.
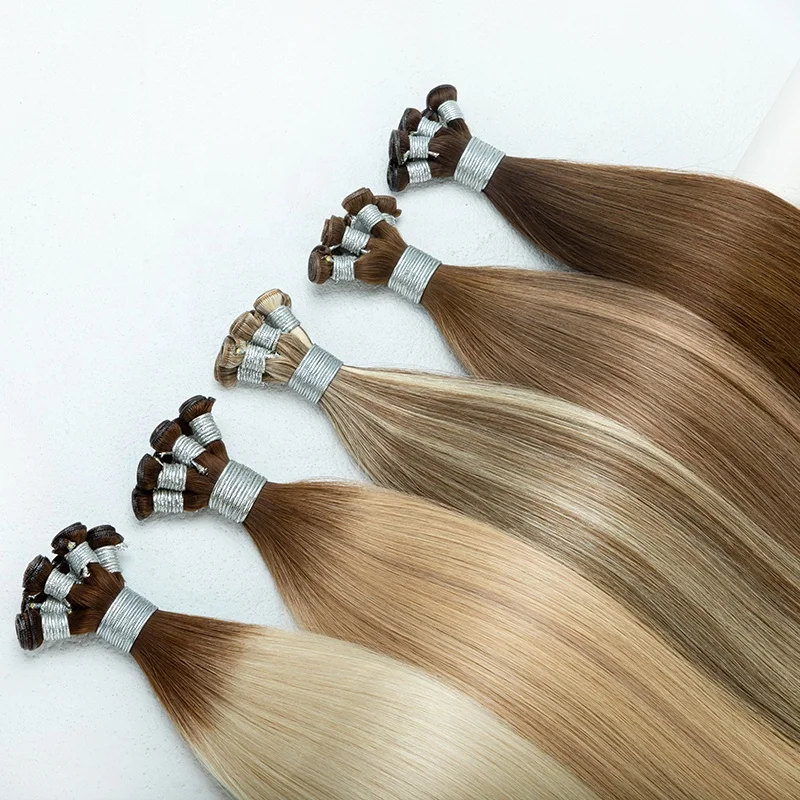
Before beginning any installation, proper preparation is crucial for success. Taking time to assess your natural hair condition, gather all necessary tools, and understand the specific weft installation methods will make the entire process smoother and more efficient. The foundation you create during preparation directly impacts how well your weft hair extensions will blend with your natural hair and how long they'll last.
Preparation and Hair Assessment
Evaluating Your Natural Hair
Start by thoroughly examining your natural hair texture, density, and overall health. Weft hair extensions require a stable anchor point, so your hair must be strong enough to support the weight. If your hair is fine, thin, or previously damaged, you may need to apply treatments beforehand to strengthen it. Clean your hair completely with a clarifying shampoo to remove all product buildup, oils, and residue that could interfere with adhesion or sewing. Blow-dry your hair straight and smooth, as this creates the best surface for sew-in hair extensions application.
Gathering Essential Tools and Materials
Collect all necessary tools before starting the weft hair extensions installation. You'll need a needle, thread matching your hair color, scissors, clips, a rat-tail comb for sectioning, and a measuring tape. Professional stylists often use specialized tools for weft installation methods, including weaving needles and curved needles designed specifically for hair extension work. Having everything organized and within reach prevents interruptions and ensures a consistent, professional result. Quality tools make the process significantly easier and reduce the risk of damaging your natural hair during installation.
Step-by-Step Installation Process
Creating Cornrow Braids
The foundation of successful weft hair extensions installation involves creating cornrow braids that will anchor the wefts. Section your hair horizontally from the nape of your neck upward, creating rows spaced approximately one to two inches apart. Each cornrow should be tight enough to securely hold the weft but not so tight that it causes discomfort or breakage. The number of rows depends on the volume and length of extensions you want to add. For full-head coverage, most installations require between three and five cornrows, depending on hair density and desired thickness.
Securing the Wefts to the Braids
Once your cornrows are complete, you're ready to attach the wefts. Thread your needle with a length of thread matching your hair color, then position the first weft along the top cornrow. Using an upward needle motion, push the needle through the weft and into the cornrow braid, securing the weft firmly. Continue this process along the entire length of the weft, creating secure anchor points every quarter inch. For thicker, longer wefts, you may need to use multiple passes to ensure they don't shift or slip. Proper weft installation methods require patience and precision, as loose wefts will eventually slip down and cause discomfort.
Blending and Finishing Touches
Creating Seamless Integration
After all wefts are secured, blend your natural hair with the extensions to create a seamless appearance. Leave the layer of hair above the top weft unbraided to cover the installation and create a natural transition. This upper layer should be thick enough to completely conceal the wefts while remaining comfortable and undetectable. Style and curl your hair to match the texture of the extensions, creating uniformity throughout your look. Professional stylists recommend spending extra time on this blending stage, as it's what determines whether your installation looks natural or obviously added.
Styling and Final Adjustments
Now that your wefts are installed and blended, style your hair as desired. You can straighten, curl, wave, or braid your hair with weft installation methods now fully complete. Ensure all wefts are hidden beneath your natural hair and that no tracks are visible from any angle. Make any final adjustments to ensure the extensions feel comfortable and secure. Many people schedule a follow-up appointment a few weeks after installation to check for any shifting and make necessary tightening adjustments.
Hair Extension Maintenance
Daily Care Practices
Proper hair extension maintenance is essential for preserving your investment and keeping your extensions looking beautiful. Wash your hair in downward motions, avoiding vigorous scrubbing that could loosen the wefts. Use sulfate-free shampoo and conditioner designed for hair extensions, as these products are gentler and won't strip natural moisture. Avoid placing your head directly under running water for extended periods, and never sleep with wet hair, as moisture can weaken the thread securing your wefts. Brush gently with a wide-tooth comb starting from the ends and working upward, being careful not to pull on the weft attachment points.
Long-Term Maintenance Schedule
Schedule maintenance appointments every six to eight weeks to check weft security and address any shifting. During these appointments, your stylist may need to tighten wefts, adjust braids, or rethread any sections that have loosened. Avoid heat styling that exceeds 300 degrees Fahrenheit, as excessive heat can damage both natural and extension hair. Use heat protectant products before applying any styling tools. Deep conditioning treatments every two weeks will keep your hair and extensions hydrated and healthy, extending their lifespan significantly.
FAQ
How long do weft hair extensions typically last after installation?
Quality weft hair extensions can last between six to twelve months with proper care and maintenance. The longevity depends on your natural hair growth rate, how well you maintain the extensions, and the quality of the hair used. Regular maintenance appointments every six to eight weeks help extend their lifespan by ensuring wefts remain secure and braids stay intact. If you follow recommended hair extension maintenance practices consistently, you can maximize the durability of your investment.
Can you remove sew-in hair extensions without damaging natural hair?
Yes, sew-in hair extensions can be safely removed when done properly by a professional stylist. The removal process involves carefully cutting the thread securing each weft and gently unraveling them without pulling or tugging on your natural hair. Professional removal takes time and patience, typically lasting one to two hours depending on the number of wefts. Attempting to remove extensions yourself or rushing the process risks significant breakage and damage to your natural hair. Always have a trained stylist handle removal to protect your hair health.
What's the best way to sleep with weft hair extensions installed?
Sleep with your hair in a loose braid or bun to prevent tangling and reduce stress on the wefts. Use a silk or satin pillowcase, which creates less friction than cotton and helps maintain your style while protecting both natural and extension hair. Avoid sleeping on wet hair, as moisture combined with pressure can weaken the thread holding your wefts. If you have long hair with multiple weft installation methods applied, consider wrapping your hair in a silk scarf before bed for added protection and comfort throughout the night.